Create your own n8n custom node


Why build a custom n8n node?
Sometimes the existing n8n nodes do not match a specific service or you want a simpler, opinionated interface for a workflow. Building a custom node lets you expose only the fields you need, call any API, and share or reuse the result inside n8n just like a built-in node. This guide walks through creating a simple custom node that queries the Binance public API to fetch a cryptocurrency price by symbol — named B24 Crypto Manager.
What you will need
- Git and Docker Desktop installed locally
- An n8n self-hosted instance (we use the n8n Self-Hosted AI Starter Kit)
- pnpm and rimraf (installed globally during setup)
- Basic familiarity with TypeScript and the command line
Overview of the process
- Install the n8n Self-Hosted AI Starter Kit with Docker
- Create a
customfolder inside the running n8n container - Clone the n8n node starter, adapt it for your node
- Install dependencies, build, and copy the build into n8n’s custom folder
- Test the node inside n8n and make the symbol parameter dynamic
1. Install the self-hosted n8n starter kit
Use the starter kit repository for a quick local n8n environment. Choose the correct profile for your hardware (CPU, GPU, etc.) and run the provided Docker command. The first run downloads images and configures containers; it can take several minutes depending on network speed.
After the first run, update environment variables to ensure compatibility: set N8N_LOG_LEVEL=debug, RUNNERS_ENABLED=true, and ENFORCE_FILE_PERMISSIONS=false. Re-run the Docker command to pick up the new env values and speed up subsequent starts.
2. Create the custom folder inside the n8n container
n8n looks for user-added nodes in a special custom directory inside the application files. It does not exist by default, so create it inside the running container.
# list running containers
docker ps

# open a shell inside the n8n container (replace 'n8n' with your container name)
docker exec -it n8n /bin/sh

# inside the container
cd /home/node/.n8n
mkdir custom
pwd  # should show /home/node/.n8n/custom

# exit the container when done
exit
3. Prepare an n8n node skeleton
Use the n8n-nodes-starter repository as the scaffold for your node. Clone it and rename the folder to follow the community naming convention: repository names for community nodes should start with n8n-nodes-.
# clone starter and rename
git clone https://github.com/n8n-io/n8n-nodes-starter.git n8n-nodes-b24-custom-nodes
cd n8n-nodes-b24-custom-nodes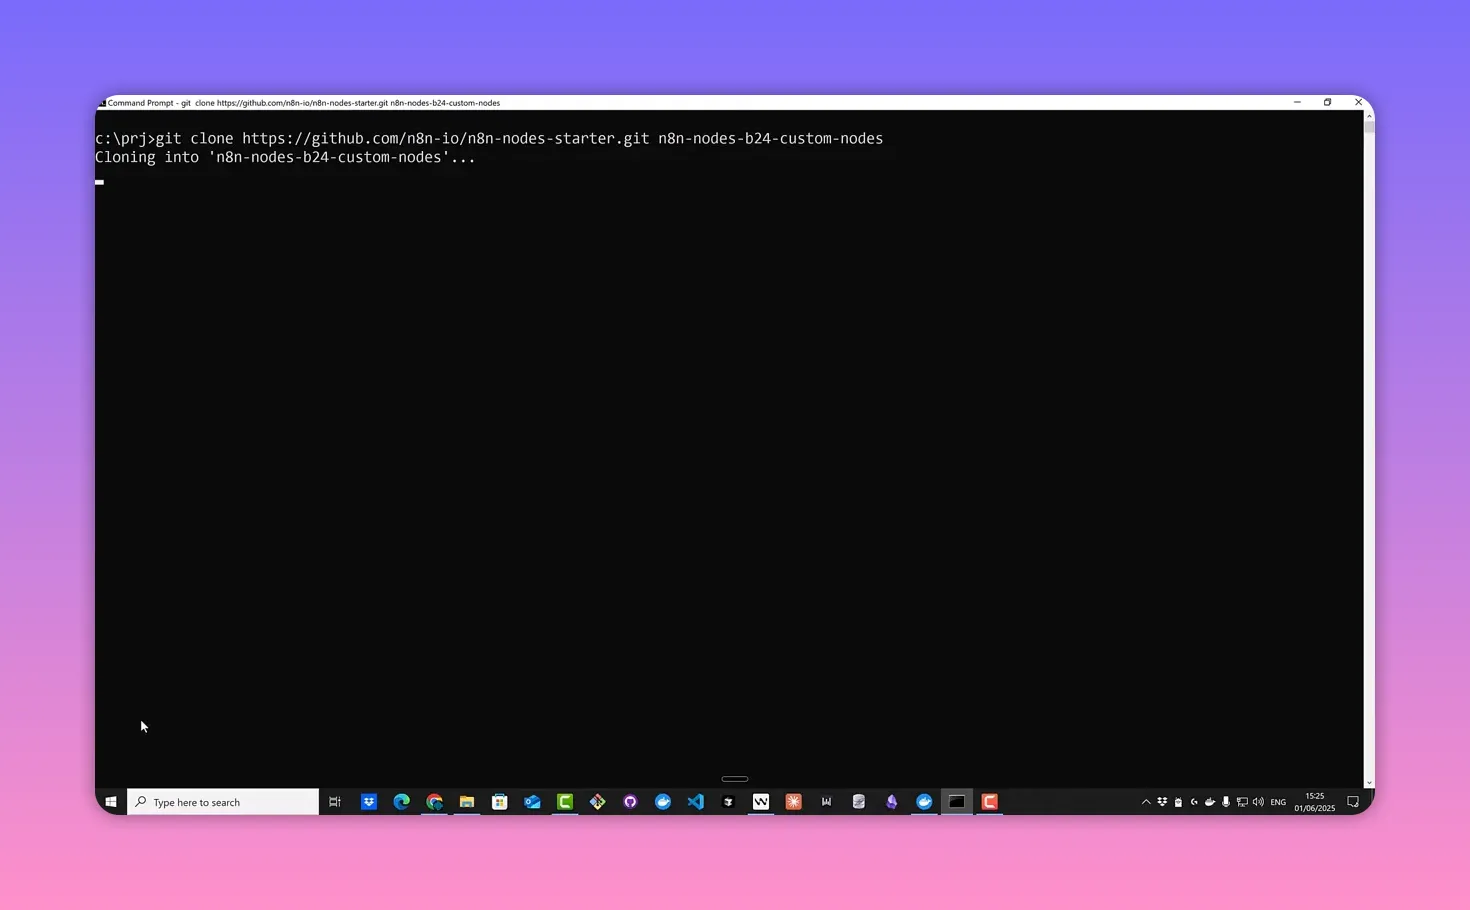
Open package.json and replace placeholders with your GitHub account and package name (n8n-nodes-b24-custom-nodes). Update the homepage, description, and other metadata as desired. These fields are optional but helpful if you plan to publish later.
4. Install build tools and dependencies
Install pnpm and rimraf globally, then install the project dependencies.
# install global tools
npm install -g pnpm
npm install -g rimraf

# install project deps
pnpm install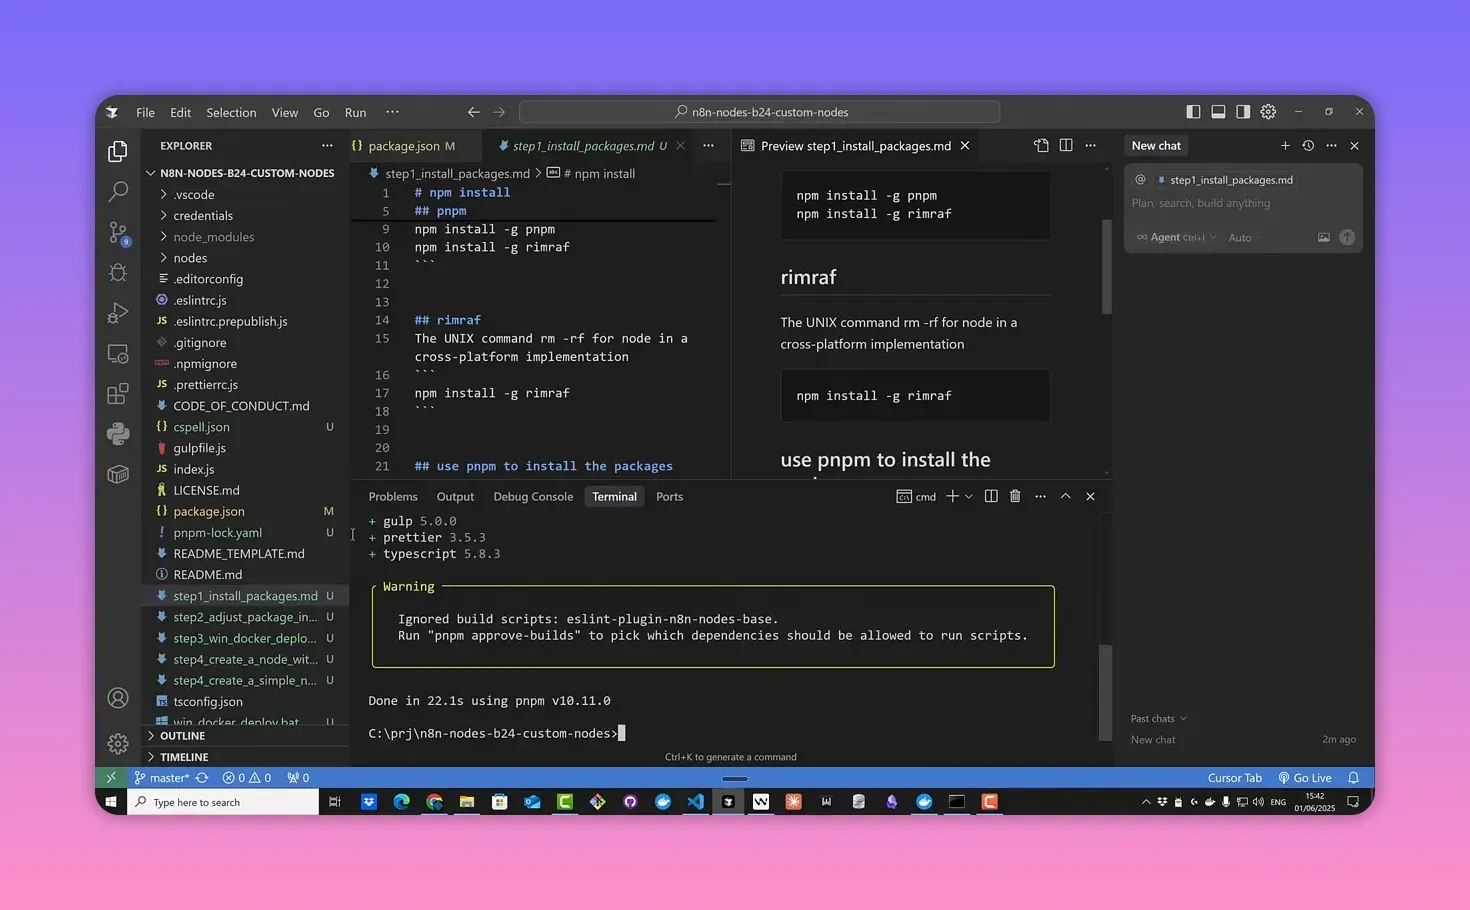
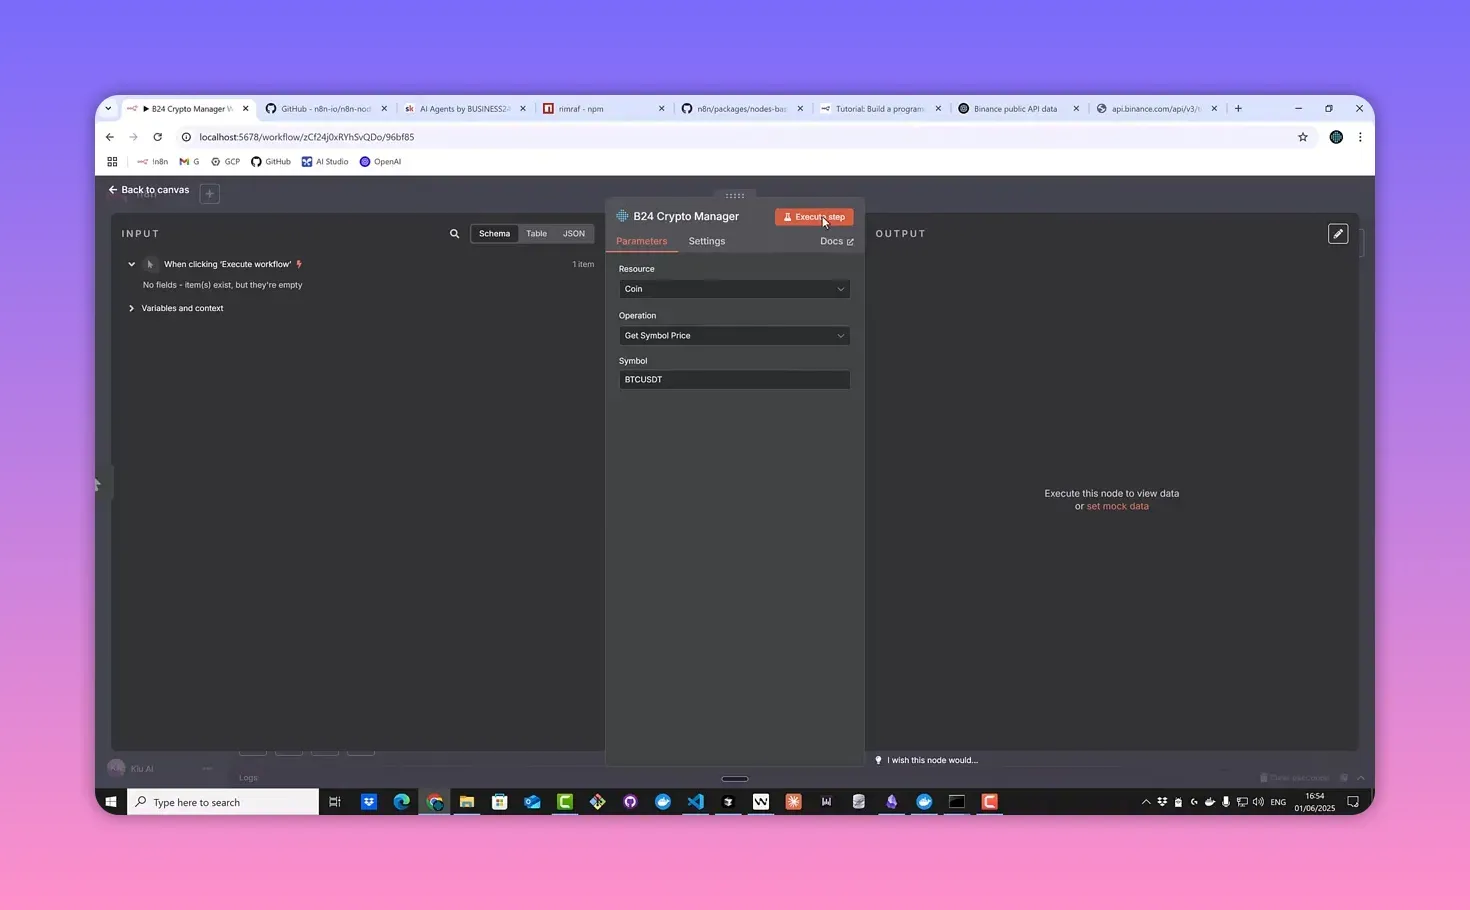
5. Create your Binance-based node (B24 Crypto Manager)
Copy the sample node folder (for example example-node) and rename both the folder and the TypeScript file to match your node: b24-crypto-manager. Inside the TypeScript file, adjust the class name (capitalized) and node properties.
- Change the node group to
inputif it acts as an input source. - Remove unused execute scaffolding if you only need simple request/response behavior.
- Add an SVG icon with a transparent background and reference it in the node.
- Configure request defaults with the Binance API base URL and headers.
The node exposes a single resource and operation: a dynamic URL built from a symbol parameter. Set the parameter type to string and give it a sensible default, such as BTCUSDT.
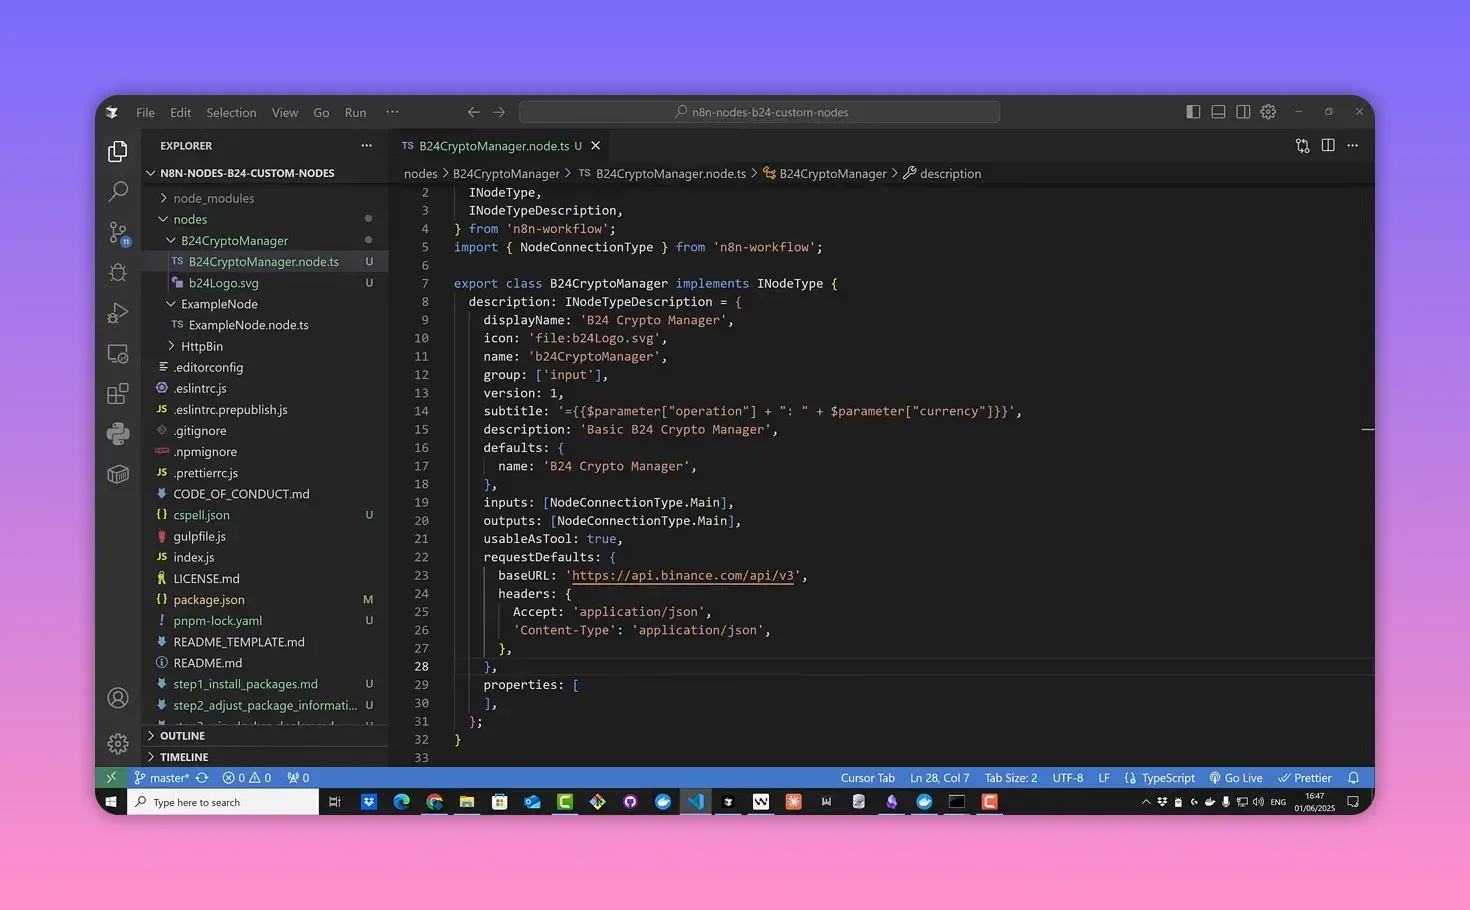
Binance public API endpoint
For current price data you can call Binance's public REST endpoint (no API key):
https://api.binance.com/api/v3/ticker/price?symbol=BTCUSDT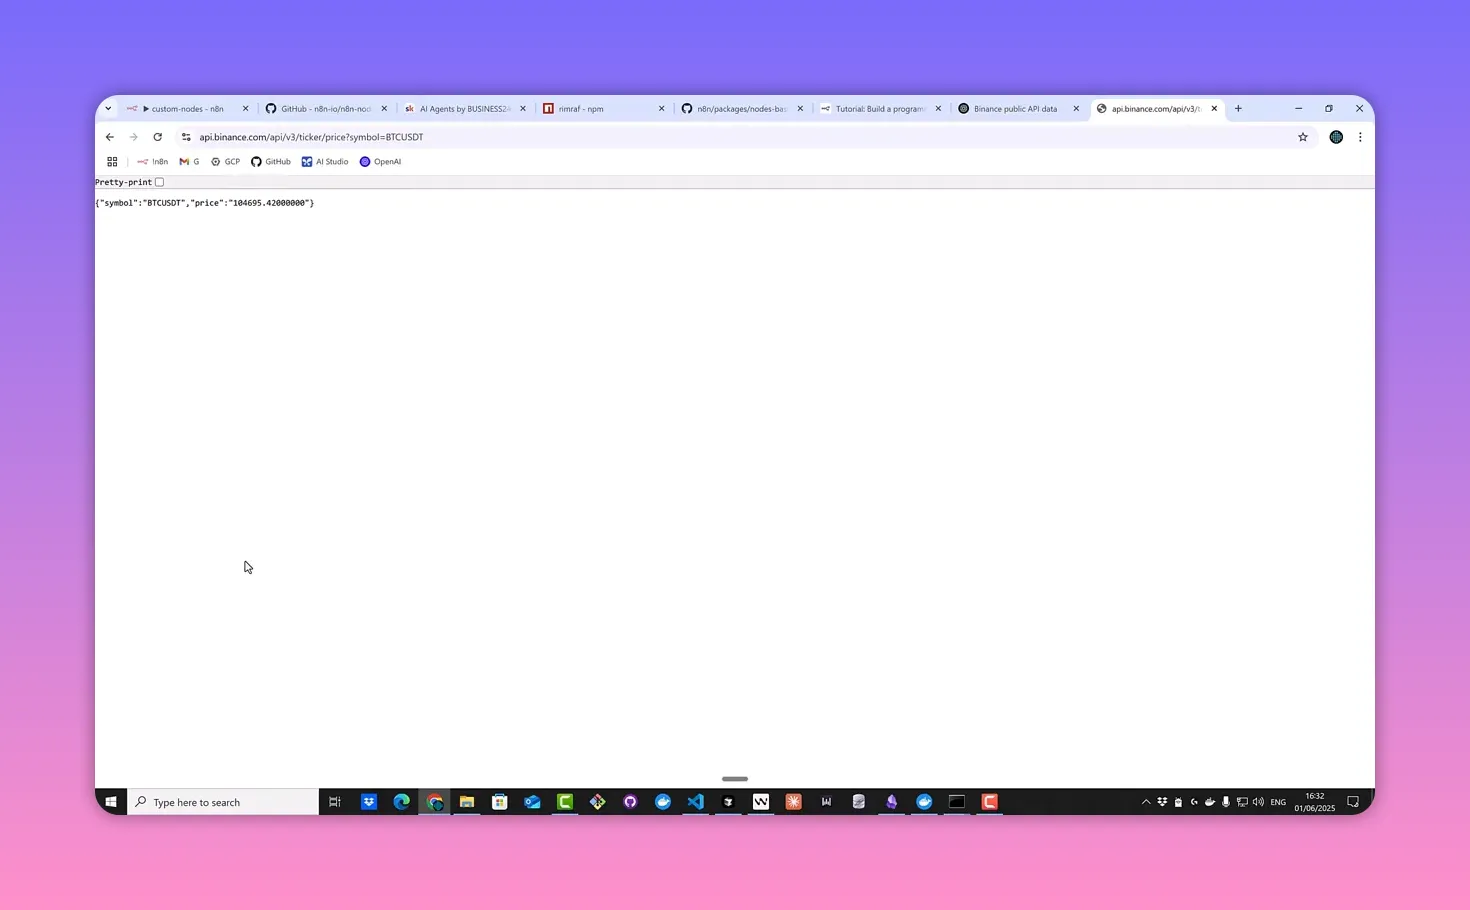
6. Register the node in package.json
Add the node entry in the n8n section of package.json: list your new node under nodes. Because this implementation uses a public endpoint, no credentials are required.
7. Build and deploy to the n8n custom folder
Use the provided build script (or batch file) to compile the TypeScript sources, create a dist folder, then copy those files into the n8n container’s /home/node/.n8n/custom directory. The script typically:
- Validates dependencies
- Runs
pnpm run build - Uses a temporary container to transfer files
- Restarts the n8n container and prints logs
# build locally
pnpm run build

# copy dist into the running n8n container (example approach)
docker cp dist/. n8n:/home/node/.n8n/custom/
After copying the build, confirm the files exist inside the container:
docker exec -it n8n /bin/sh
ls /home/node/.n8n/custom
8. Test the node inside n8n
Create a new workflow, add a Manual Trigger, then add your custom node by searching for "B24" or the node name you picked. Configure the node using the default symbol parameter and execute the node to see the returned price.
The result behaves like any n8n node: view it as a table or raw JSON, inspect execution data in the execution tab, and save the workflow.
9. Make the symbol dynamic using a Set node
To demonstrate dynamic input, add a Set node before your custom node and create a field named symbol. Set its value to a different symbol, for example ETHUSDT. Execute the Set node, then configure the custom node to use the incoming field as its symbol parameter.
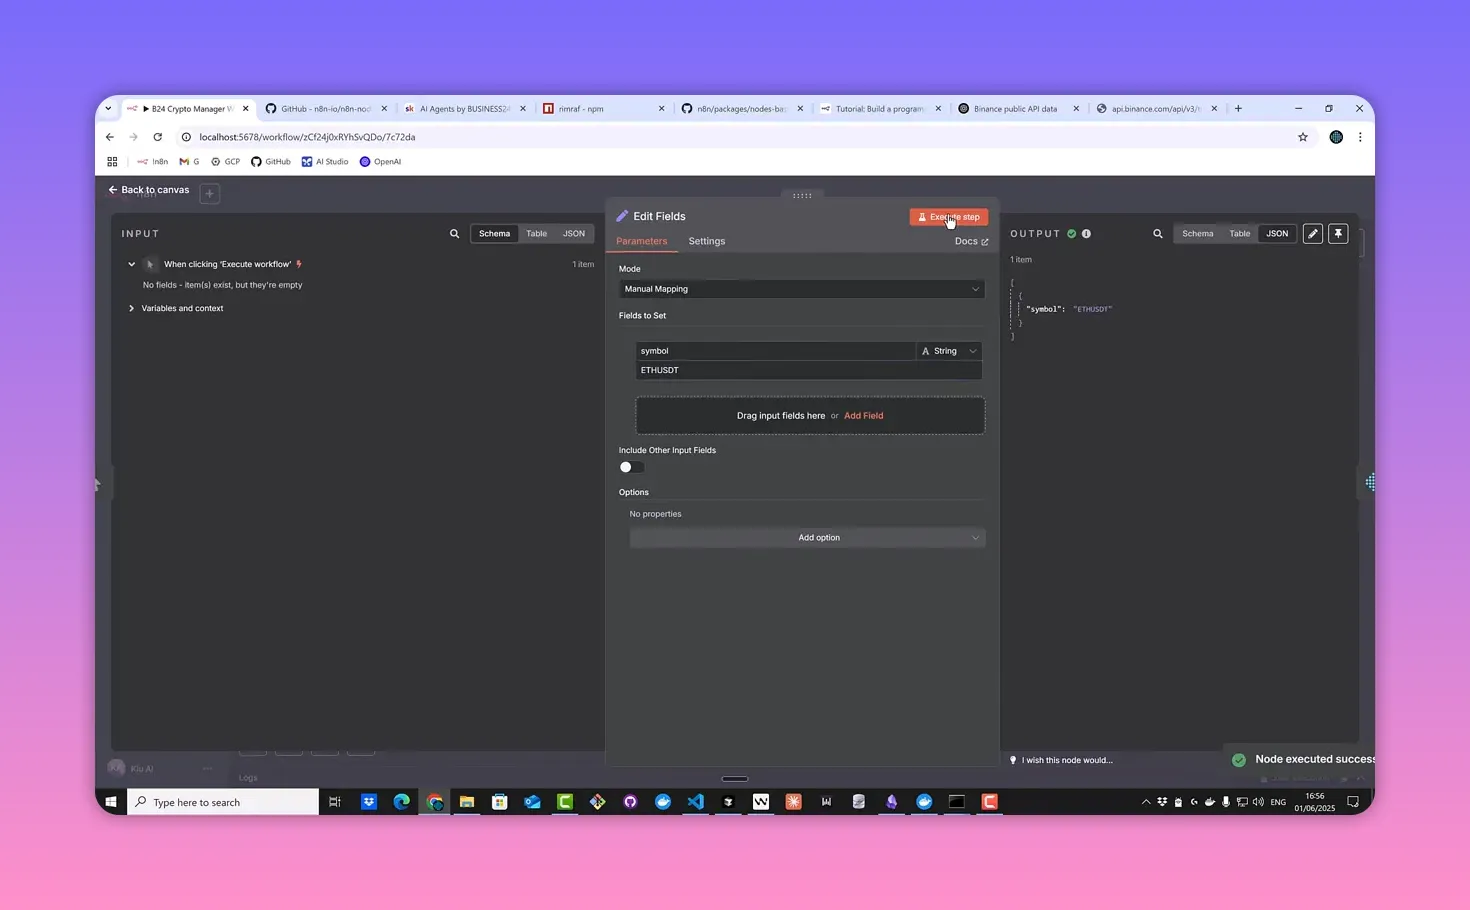
If the custom node still returns the placeholder value, remove the static default from the node config and reference the previous node’s output. When executed correctly, the node returns the dynamic price (for example, Ethereum).
Tips, references, and next steps
- Explore the n8n GitHub repository under
packages/nodesto see how official nodes such as CoinGecko are implemented. This helps decide between declarative and programmatic node styles. - If you plan to publish the node as a community node, ensure the repository name begins with
n8n-nodes-and follow community guidelines. - For any API that needs authentication, the next step is adding credentials to the node. That requires defining a credentials type and wiring it into requests.
Quick checklist before publishing
- package.json updated (author, homepage, description)
- Node listed in the
n8nfield undernodes - Icon SVG included
- Build process verified and
distcopied intocustom - Basic tests in n8n for default and dynamic inputs
Final notes
Building a custom node is a powerful way to integrate external services into n8n workflows exactly the way you need. The Binance example shows a minimal, credential-free implementation; adding authentication and richer operations is the natural next step. Good luck building and sharing your own nodes.
Free Stuff! |
|
Check out this really cool thing |
| Click me |